A left join in Excel allows you to combine data from two tables by keeping all records from the left (primary) table and bringing in matching values from the secondary table.
You perform a left join in Excel when you want all the records from the left or primary table, even if some records have no corresponding match in the secondary table.
The most efficient and reliable way you can perform a proper relational left join in Excel is to use Power Query.
Doing Left Join in Excel Using Power Query
Suppose you have the datasets below on a worksheet.
The primary dataset on the left contains customer information, and the secondary one on the right holds order details.
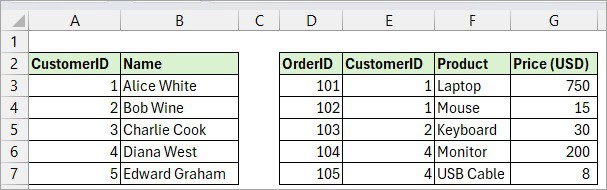
You want to perform a left join on the two datasets to identify which customers have placed orders and which have not.
Here’s how to do the left join using Power Query:
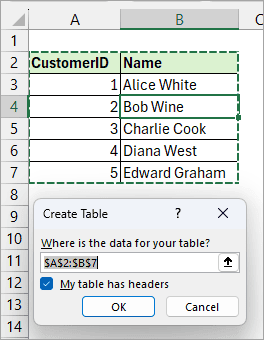
Step #1: Convert the Datasets to Tables
- Select a cell in the dataset on the left and press Ctrl + T.
- Click OK on the Create Table dialog box.
- Open the Table Design tab and rename the table ‘Customers’ on the Table Name box on the Properties group.

- Repeat the above steps for the dataset on the right and rename the resultant table ‘Orders.’
Step #2: Create Query Connections
- Select a cell in the Customers table.
- Open the Data tab and choose the From Table/Range option.
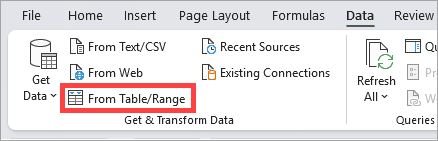
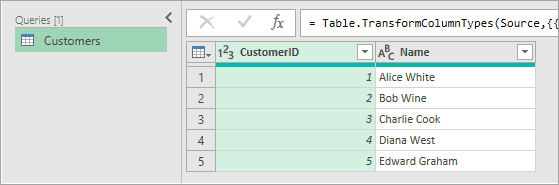
The above step loads the table data into the Power Query Editor.
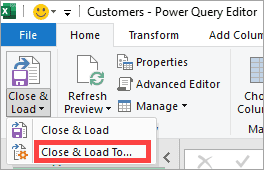
- Click the Home tab.
- Open the Close & Load drop-down on the Close group and choose the Close & Load To option.
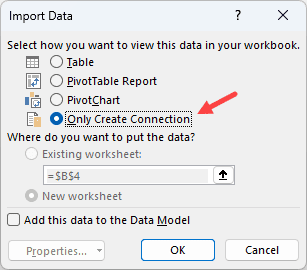
The above step opens the Import Data dialog box.
- Select the Only Create Connection option and click OK.
- Repeat the above steps for the Orders table.
Step #3: Merge the Queries
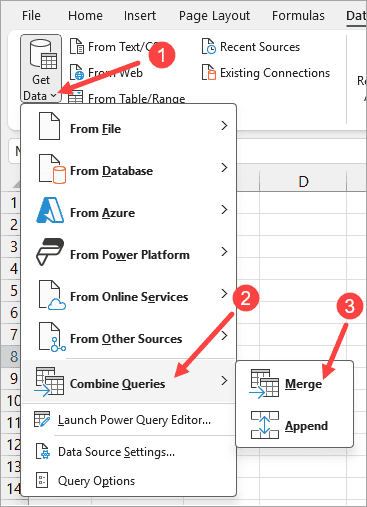
- Click the Data tab.
- Open the Get Data drop-down.
- Hover the cursor pointer over the Combine Queries option and choose Merge on the submenu.
The above step opens the Merge dialog box.
- On the Merge dialog box, open the first drop-down and select the Customers table and its CustomerID column.
- Open the second drop-down and select the Orders table and its Customer ID column.
- On the third drop-down, choose the Left Outer join.
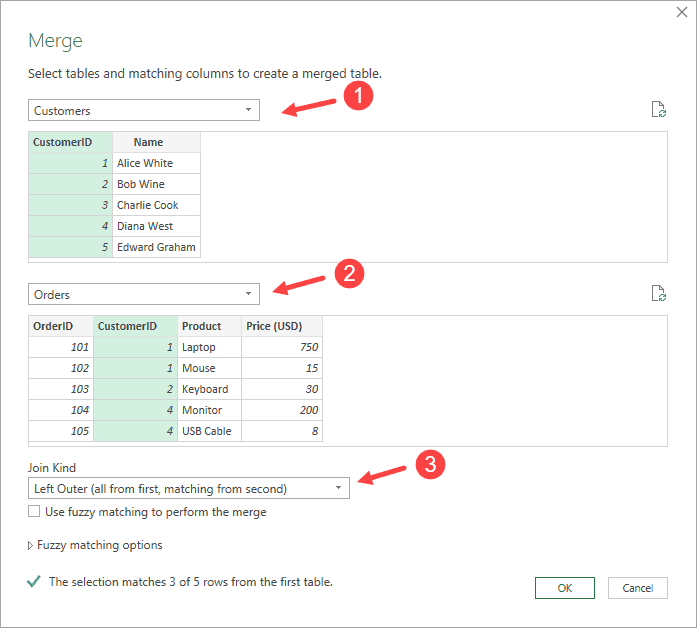
- Click OK.
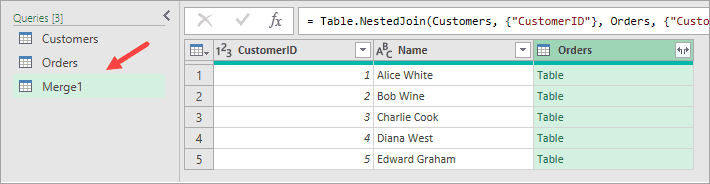
The Merge1 query appears in the Power Query Editor.
- Click the Expand button in the header of the Orders column.
- Deselect the CustomerID option.
- Deselect the ‘Use original column name as prefix’ option.
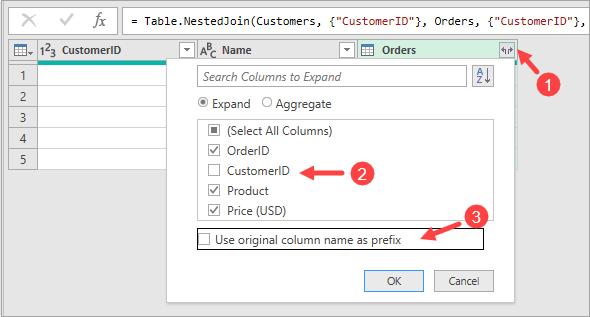
- Click OK.
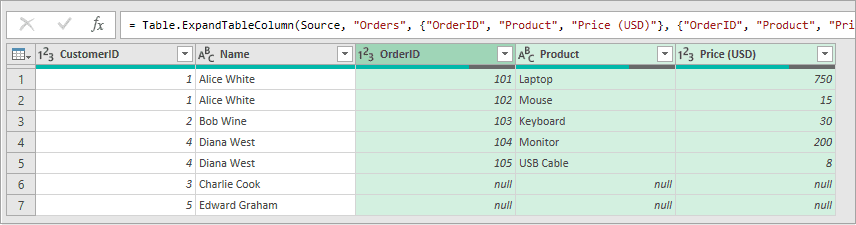
The above steps result in a merged query as shown below.
Step #4: Load Query Results into a Worksheet
- Click the Home tab.
- Open the Close & Load drop-down on the Close group and choose the Close & Load To option.

The above step opens the Import Data dialog box.
- Select where you want to put the data. In this case, I want the data on the current worksheet starting at cell A9.
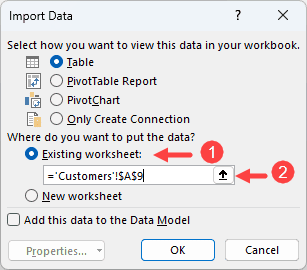
- Click OK.
The result is the table below the original two datasets.
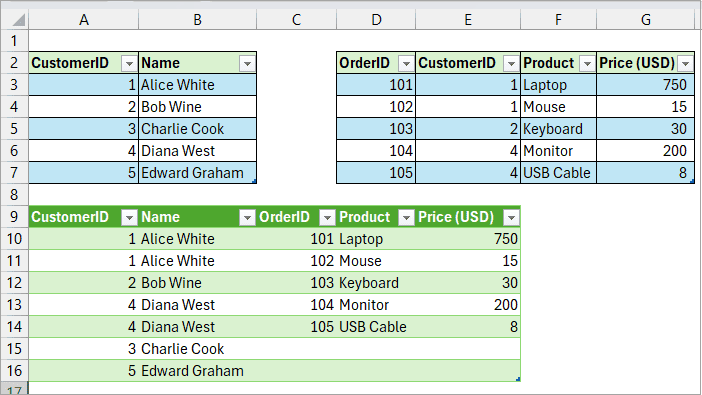
Notice that the left join returns all records from the left table and appends the matching records from the right table. Where no match exists, the columns from the right table are blank.
You can now determine which customers have placed orders and which haven’t.
If you only need to pull one matching value into the primary table, you can also use VLOOKUP in Power Query.
I hope you found the tutorial helpful.