If your Excel work includes calculating contract end dates, retirement dates, or similar timelines, knowing how to add years to a date can simplify your work.
I will show you how to add years to a date in Excel accurately.
Method #1: Using the EDATE Function
One of the most reliable ways to add years to a date in Excel is to use the EDATE function. The function handles leap years and month-end dates correctly.
The syntax of EDATE is EDATE(start_date, months). The ‘start_date’ is the date you want to adjust, and ‘months’ is the number of months to add.
Suppose you have the dataset below, showing employees’ contract start dates and the duration of each contract.

You want to calculate each contract’s end date by adding its duration to its start date.
You can use the formula below in column D to calculate the end date of each contract:
=EDATE(B2,12*C2)
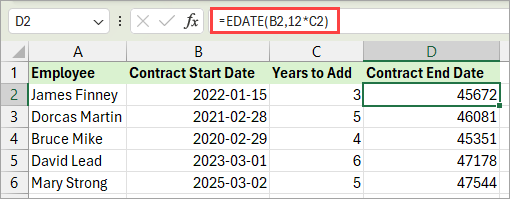
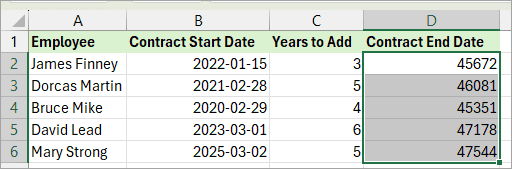
The EDATE function returns the contract end dates as serial numbers.
You need to format the serial numbers as dates using the steps below.
- Select the serial numbers.
- Press CTRL+1 to open the Format Cells dialog box.
- Click the Date option on the Category list box on the left and the desired date format on the Type box on the right.
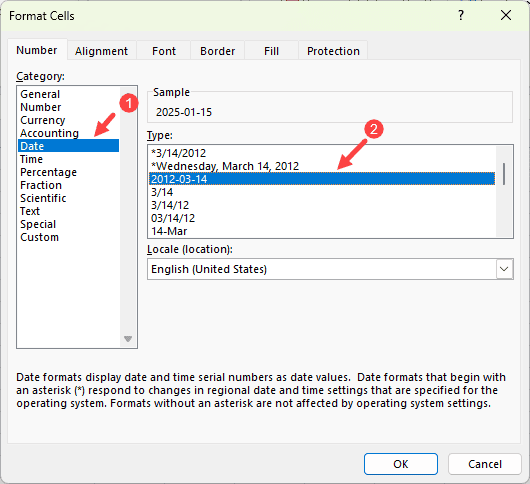
- Click OK.
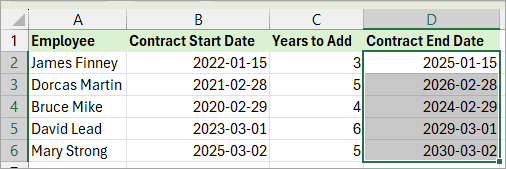
The above steps apply the selected date format to the date serial numbers.
Method #2: Using Power Query
You can use Power Query to add years to a date in Excel.
Suppose you have the Excel table below, showing employees’ contract start dates and the duration of each contract.
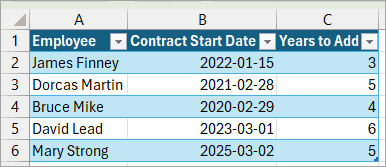
You want to compute each contract’s end date by adding its duration to the corresponding start date.
You can use the steps below to achieve your goal.
- Select a cell in the table.
- Click the Data tab.
- Click the From Table/Range option on the Get & Transform Data group.
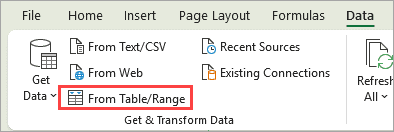
The above step loads the table data into Power Query Editor.
- In the Power Query Editor, open the Add Column tab and click the Custom Column option on the General group.
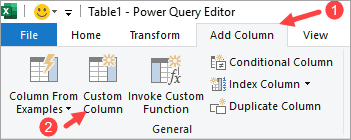
The above step opens the Custom Column dialog box.
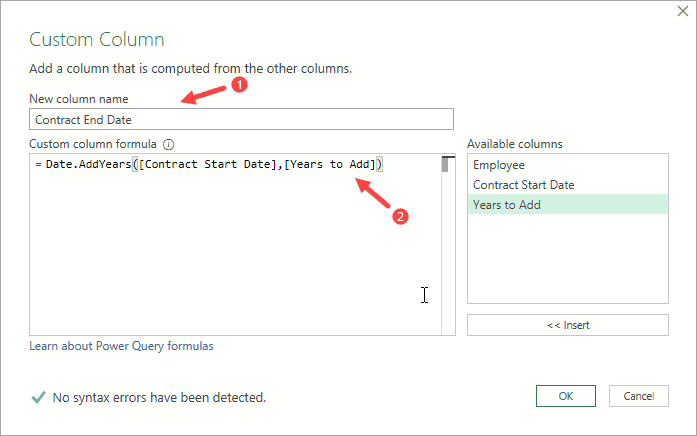
- Do the following on the Custom Column dialog box:
- In the ‘New column name’ box, enter ‘Contract End Date’.
- In the ‘Custom column formula’ box, enter the following formula
=Date.AddYears([Contract Start Date],[Years to Add])
- Click OK.
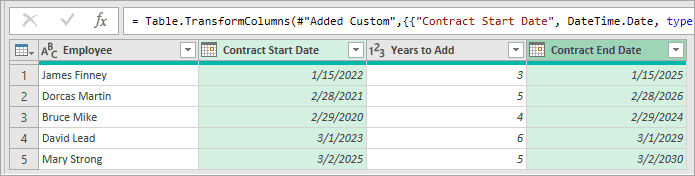
The above steps add a new column with contract end dates to the table data.

- Select the ‘Contract Start Date’ column, hold down the CTRL key, and select the ‘Contract End Date’ column.
- Right-click a header in the selection, hover the mouse pointer over the Transform option, and click the Date Only option on the submenu.
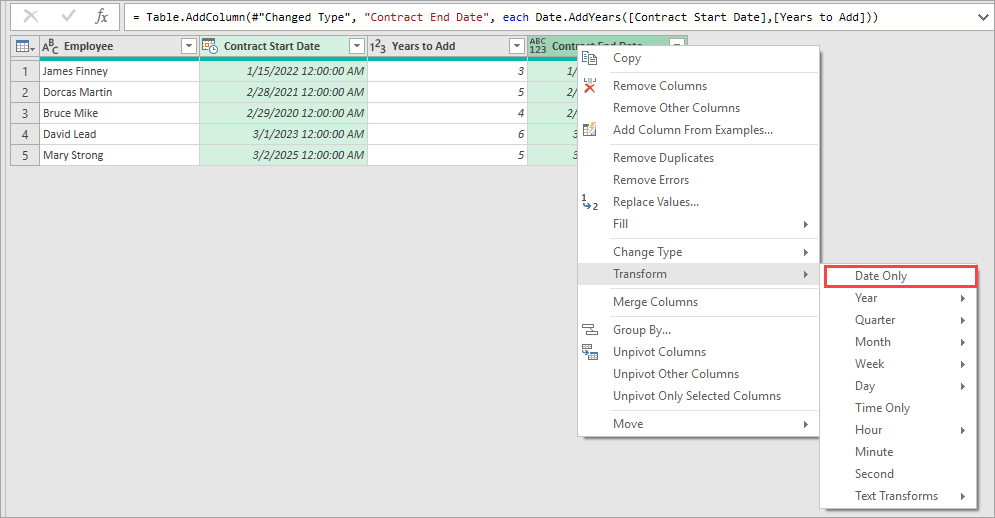
The above step removes the time component from the dates in the target columns.
- Click File and choose the Close & Load option.
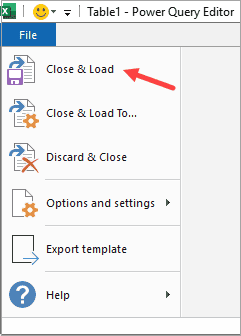
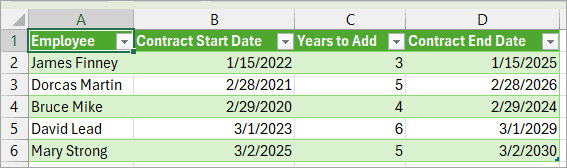
The above step loads the query data into a new sheet.
Method #3: Using VBA User-Defined Function (UDF)
You can create a UDF in VBA and use it to add years to a date in Excel.
Suppose you have the dataset below, showing employees’ contract start dates and the duration of each contract.
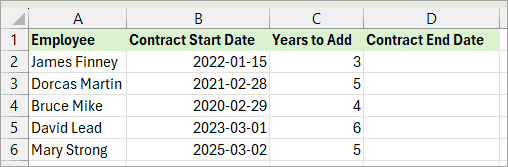
You want to calculate each contract’s end date by adding its duration to the corresponding start date.
You can use the steps below to achieve your purpose.
Step #1: Create the UDF
Copy the VBA code below to a standard module:
Function ADDYEARS(StartDate As Date, NumYears As Long) As Date
Dim newYear As Long
Dim newMonth As Long
Dim newDay As Long
newYear = Year(StartDate) + NumYears
newMonth = Month(StartDate)
newDay = Day(StartDate)
If newMonth = 2 And newDay = 29 And _
    Not IsDate(DateSerial(newYear, 2, 29)) Then
        newDay = 28
End If
ADDYEARS = DateSerial(newYear, newMonth, newDay)
End FunctionStep #2: Use the UDF
Use the formula below in column D:
=ADDYEARS(B2,C2)
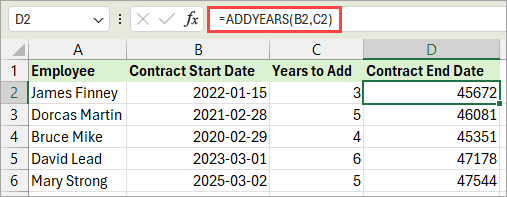
The UDF returns the contract end dates as serial numbers. You can format them as dates as shown in Method #1.
The UDF clearly indicates your intention to add years to a date.
Explanation of the UDF
The UDF does the following:
- Extracts the year, month, and day from the original date.
- Adds the specified number of years.
- Adjusts for leap years if necessary.
- Returns a valid new date.
Note: You need to save the workbook as a Macro-Enabled Workbook (.xlm), or else the VBA code would not be saved when you close the file.
I have shown you three ways to add years to a date in Excel. I hope you found the tutorial helpful.
Other Excel articles you may also like: