One common frustration for many Excel users is that sometimes dates don’t act as dates. Sometimes they would appear as hash signs, sometimes as text, and sometimes in the wrong format.
However, the good news is that the problem has some quick, simple fixes once you know what is causing it.
When dates refuse to format as you desire in Excel using the built-in formatting options, the underlying issue is almost always that Excel isn’t recognizing the values as real dates.
Excel stores dates as serial numbers, so if the underlying value isn’t a serial number, Excel ignores any date formatting changes.
Below are the most common reasons Excel dates refuse to format or appear to refuse formatting changes, along with their quick fixes.
Cause #1: Column is Too Narrow
Sometimes, when you change the format of dates in Excel, you see hash marks instead of dates, as shown below.
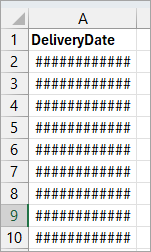
In this case, the dates appear not to have been formatted as you desired. This occurs because the column is too narrow to display the dates in the new format fully.
Fix: Widen the Column
You must widen the column to see the dates fully displayed in the new format.
Place the cursor on the column separator on the right of the column header. Double-click the double-headed arrow that appears.
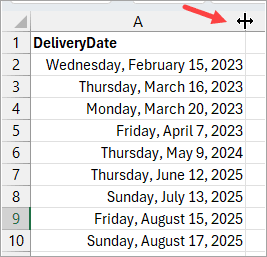
Alternatively, drag the double-headed arrow to the right until all the dates are fully displayed.
Cause #2: The ‘Dates’ are Actually Text Values
If the dates in your worksheet are actually text and not real dates with underlying serial numbers, they will ignore your formatting changes.
The dates in the example dataset below are actually text and not real dates.
If you select the values and try to change them to Short Date format or Long Date format, nothing happens.
You can tell that the values are text strings because:
- They are left-aligned in the cells.
- If you select one of the values and look in the formula bar, you will notice it starts with an apostrophe.
- When you select the values, the status bar at the bottom of the worksheet only displays the count, not the sum or average.
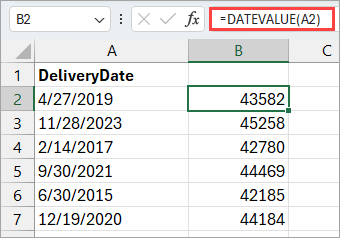
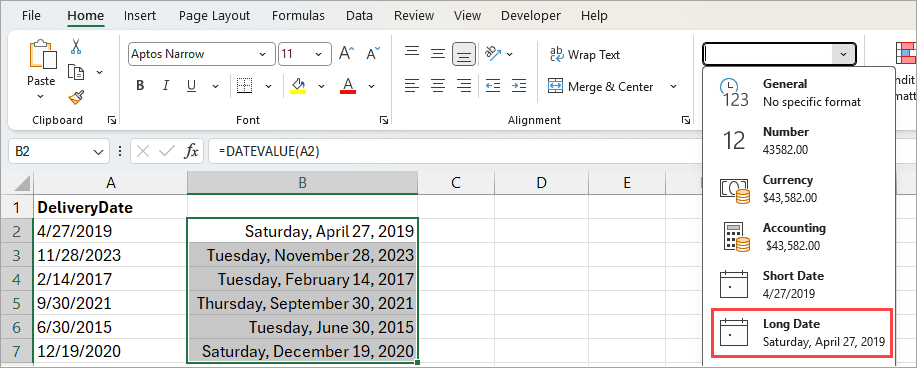
Fix #1: Use the DATEVALUE Function
You can use the DATEVALUE function to convert the text dates into real date serial numbers, which you can then format in any date format you prefer.
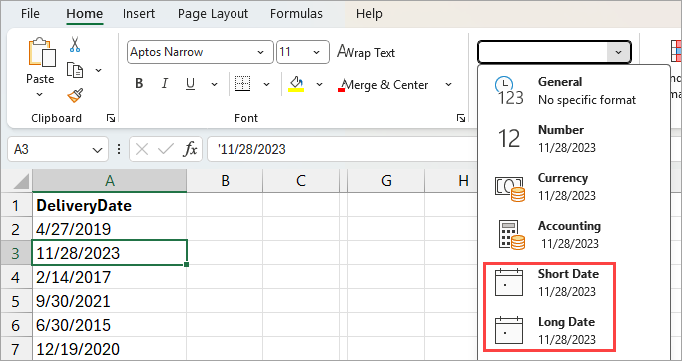
For instance, to apply the Long Date format to the serial numbers:
- Select the serial numbers.
- Click the Home tab.
- Open the Number Format drop-down on the Number group.
- Select the Long Date format.
Fix #2: Multiply the Text Dates by 1
You can use the Paste Special feature to multiply the text date values by 1. This process will convert the text dates into real date serial numbers, which you can then format in any date format.
Here’s how you can do it:
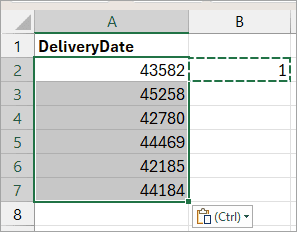
- Type the value 1 in a cell, say cell B2.
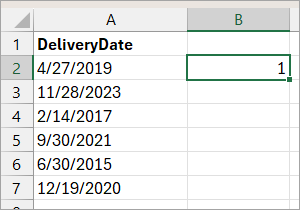
- Select cell B2 and press CTRL + C to copy the value 1.
- Select the text dates.
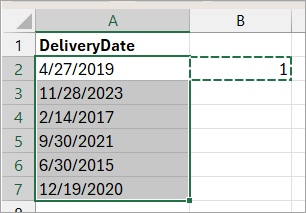
- Press CTRL + ALT + V to open the Paste Special dialog box.
- Select the Multiply option on the Operation section of the dialog box.
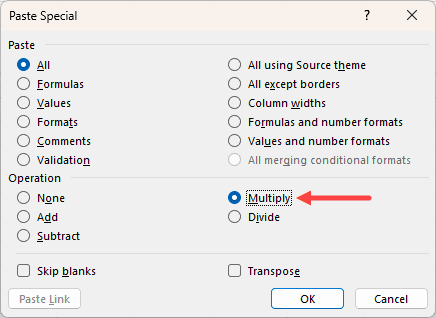
- Press OK.
The above steps convert the text dates to serial numbers.
You can now format the serial numbers to your preferred date format as shown in Fix #1 above.
Fix #3: Use the Text to Columns Wizard
Follow the steps below to convert the text dates to real dates using the Text to Columns Wizard:
- Select the column with the text dates.
- Open the Data tab.
- Click the Text to Columns command button on the Data Tools group.

The above step opens the Convert Text to Columns Wizard.
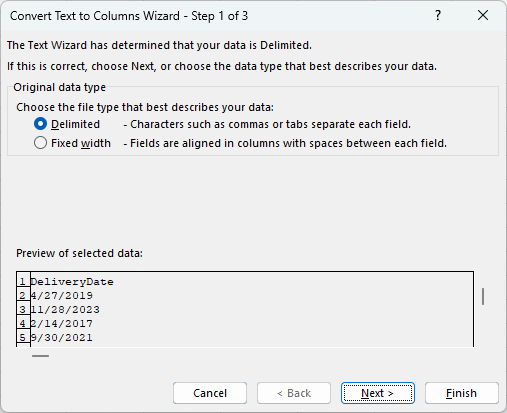
The default Delimited file type option is correct because the text dates are separated or delimited by a slash character.
- Click Finish on the Wizard.
The Text to Columns feature converts the text dates to actual dates.
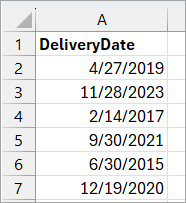
You can apply a different date format to the dates, and the change will take effect.
Dealing With Text Dates that Include a Time Component
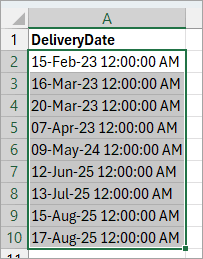
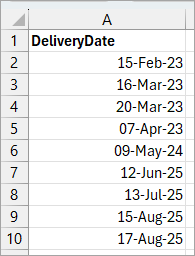
Sometimes, when you import data from external systems, the dates are brought in as text strings that include a time component separated by a space, as shown below.
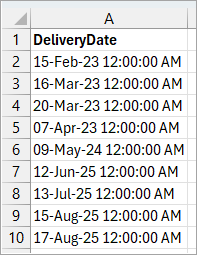
You can use the Text to Columns feature to remove the time component from the text dates and convert the date component to real dates.
Here’s how you can do it:
- Select the cells containing the text dates.
- Open the Data tab.
- Click the Text to Columns button on the Data Tools group.

The above step opens the Convert Text to Columns Wizard – Step 1 of 3
- On the Convert Text to Columns Wizard – Step 1 of 3, select the Delimited file type option and click Next.
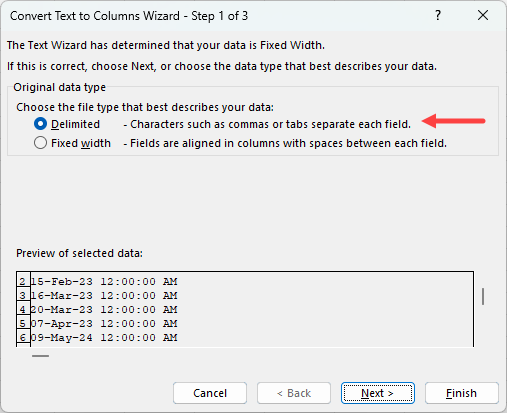
Note: You select Delimited because a space separates the date and time components in the text dates.
- On the Convert Text to Columns Wizard – Step 2 of 3, check ‘Space’ on the Delimiters options and click Next.
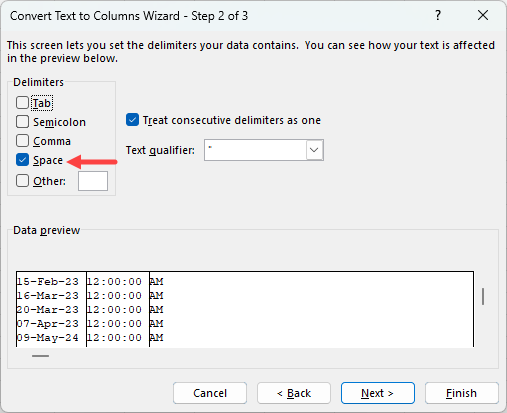
Note: Notice that on the Data preview pane, the Wizard displays the text date values in three columns.
- Do the following on the Convert Text to Columns Wizard – Step 3 of 3:
- Select the first column on the Data preview pane.
- Open the Date option drop-down and select the format the dates are in; in this case, it is DMY (Day, Month, Year).
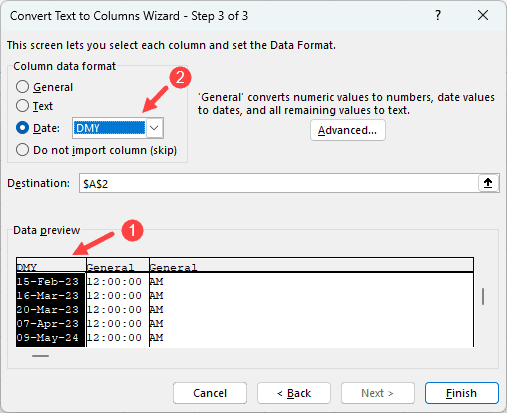
Notice that the Destination box displays the address of the first cell ($A$2) in the range of text dates in your dataset. Leave it as it is.
Notice that in the Data preview pane, the header of the column changes to reflect the date format you selected.
- Select the second column and select the ‘Do not import column (skip)’ option.
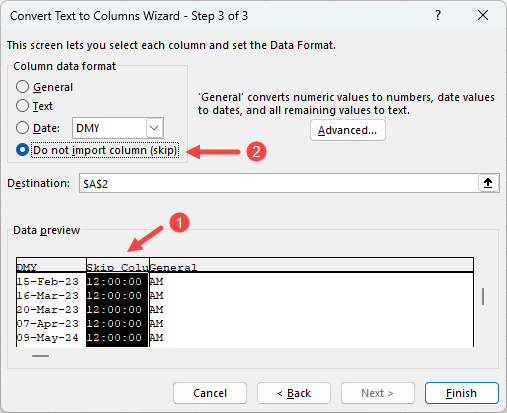
- Select the third column and also select the ‘Do not import column (skip)’ option.
- Click Finish.
The actual dates, without the time component, are displayed in the worksheet.
The dates can now accept formatting changes.
Cause #3: Date Separator Not Recognized by System’s Regional Settings
When dates use a separator that is not recognized by your system’s regional settings, Excel treats them as text and not as dates.
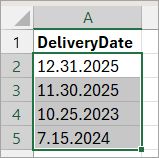
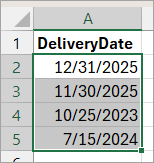
For example, your region expects a date in the format 12/31/2025, but the data you have uses 12.31.2025. Because of the unrecognized dot separator, Excel will ignore any date formatting changes because it treats the value as a text string.
Fix #1: Use the Text to Columns Feature
Using the Text to Columns feature is the easiest way to convert text dates with unrecognized separators to real dates.
Here’s how you can do it:
- Select the text dates.
- Open the Data tab and click the Text to Columns command button on the Data Tools group.

The above step opens the Convert Text to Columns Wizard – Step 1 of 3 dialog box.
- Click the Next button on the dialog box.
- Click the Next button on the Convert Text to Columns Wizard – Step 2 of 3 dialog box.
- On the Convert Text to Columns Wizard – Step 3 of 3 dialog box:
- Open the Date option drop-down and select the format the dates are in; in this case, it is MDY (Month, Day, Year).
- Click Finish.
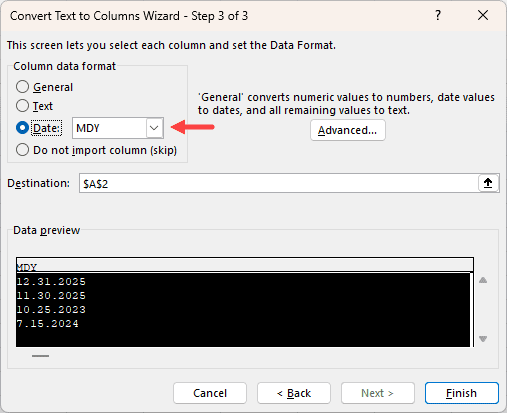
Excel immediately converts the text dates to real dates with a separator matching your system’s regional settings.
Fix #2: Use a DATEVALUE + SUBSTITUTE Formula
You can use the formula below to standardize the date separator and convert the resultant values to date serial numbers.
=DATEVALUE(SUBSTITUTE(A2,”.”,”/”))
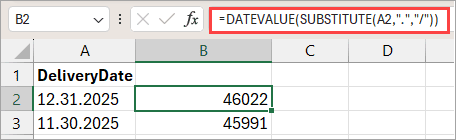
The SUBSTITUTE function replaces the dot separator that is incompatible with your system’s regional settings with the recognized slash separator. The DATEVALUE function converts the resultant text string dates to date serial numbers.
You can now apply the date formatting changes you prefer as explained under Cause #1.
Fix #3: Use Power Query
When you load the table data into Power Query Editor, Power Query automatically replaces the unrecognized date separator with the date separator recognized by your Excel’s regional settings.
Here’s how to do it:
- Select the dataset and press CTRL + T to convert it to an Excel table.
- Select any cell in the table dataset.
- Open the Data tab and click the From Table/Range option on the Get & Transform Data group.
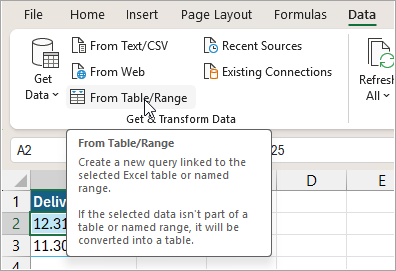
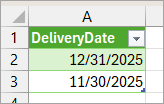
The above step loads the table data into the Power Query Editor.
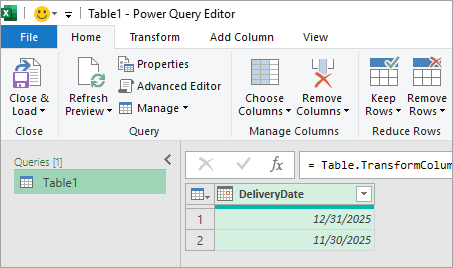
You will notice the Power Query has replaced the unrecognized date separator with the one recognized by your system’s regional settings.
- Click the Close & Load button.
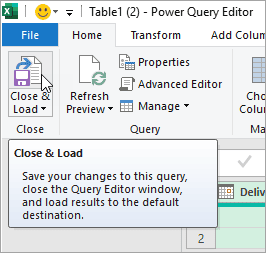
The above step loads the query results to a new worksheet.
The resultant dates will accept the formatting changes you apply.
Cause #4: Invalid Dates
Invalid dates such as 11/31/2025, 9/31/2024, and 6/31/2023 remain as text strings because they are not real calendar dates.
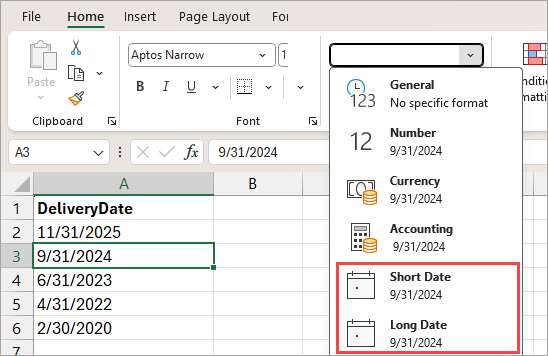
So even if you try and change the cell format to apply short date or long date formatting, it wouldn’t work because the cells do not contain a real date.
Fix: Input Valid Dates
Replace the invalid dates with real calendar dates.
I have explained four common causes of dates not formatting in Excel and provided possible fixes. I hope you found the tutorial helpful.
Other Excel articles you may also like:
- How to Convert Date to Day of Week in Excel
- How to Convert Text to Date in Excel?
- How to Convert Date to Month and Year in Excel
- Using IF Function with Dates in Excel (Easy Examples)
- How to Change Date and Time to Date in Excel
- How to Insert Date in Excel?
- How to Convert Serial Numbers to Date in Excel
- How to Add Days to a Date in Excel