We know that it is much easier to work with data when it’s organized and sorted.
When you have data collected over a course of time, sorting your data by date gives a good insight into how the data has progressed over time.
MS Excel makes it really easy for you to sort your data by date.
You can get it done in just a few steps. In this tutorial, we will not only look at how you can sort your data by date, but we will also look at some of the problems you might face when trying to sort by date and give suggestions on how you can solve them.
How to Sort Dates in a Column
If your concern is just sorting one column that contains dates, it is quite simple.
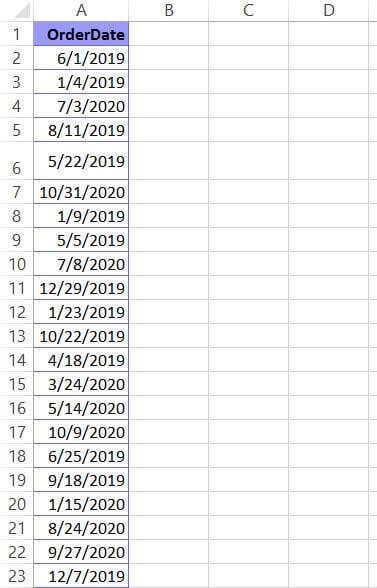
Suppose you have a dataset as shown below where you need to sort only the dates in Column A.
Below are the steps to sort this data based on the date:
- Select the column that contains the dates you want to sort.
- Under the Data tab, you will find the ‘Sort and Filter’ group. This group gives you multiple options to sort your selected data. For a simple sort operation, you can either click the ‘Sort Oldest to Newest’ or ‘Sort Newest to Oldest’, depending on your requirement.
- You might get asked if you want to expand your selection to the other columns too or continue with the current selection. Since at the moment we only want to sort the selected column, click on the second option.

- Click the Sort button.
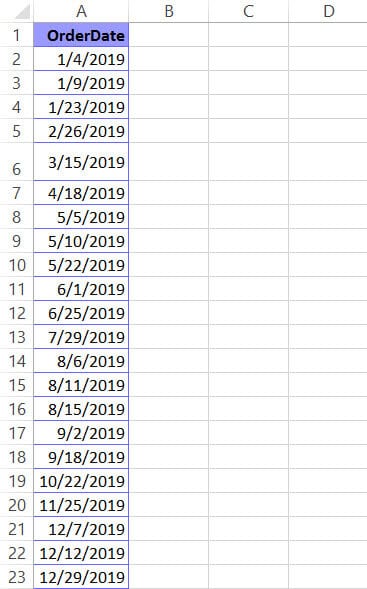
That’s it, your selected column will be sorted from the oldest to newest or newest to oldest date, according to the option you selected.
How to Sort Data in Multiple Columns by Date
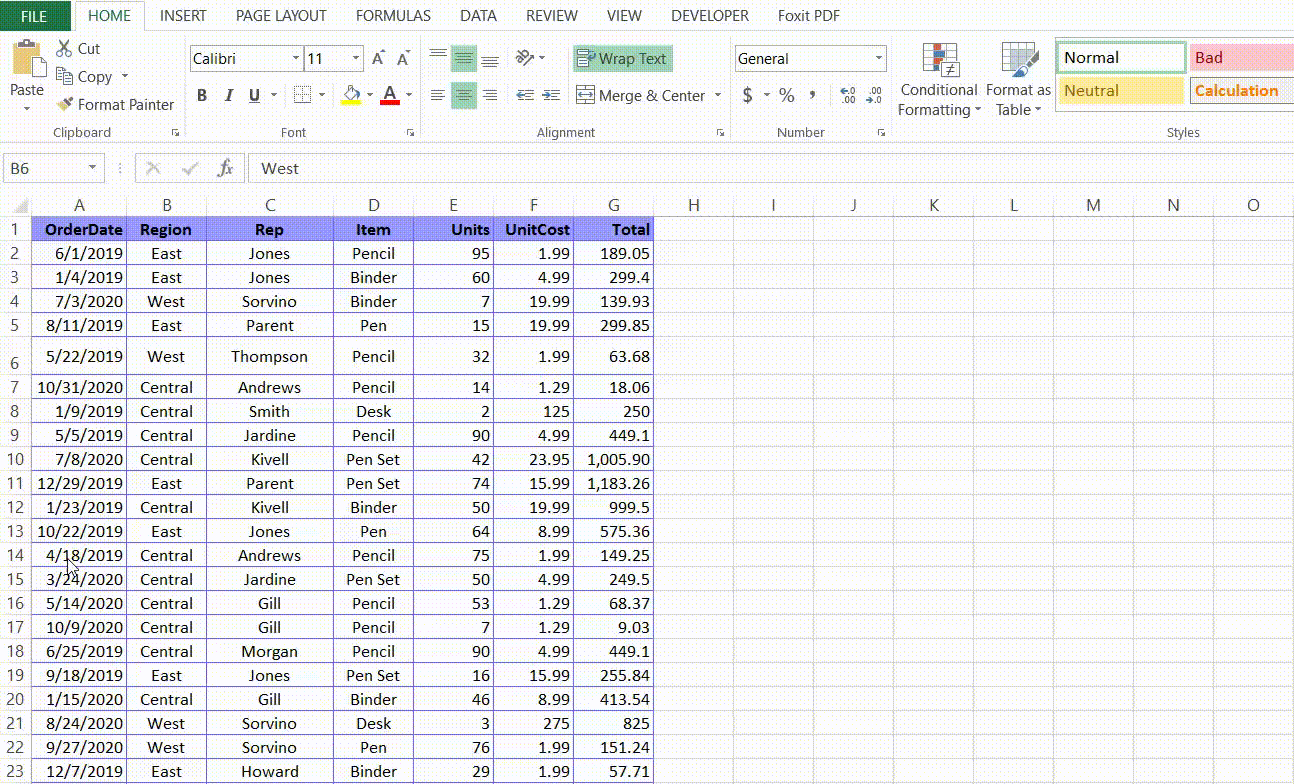
More realistically, you wouldn’t want to sort just one column. You would be looking to sort multiple columns of data by date. Suppose you have a dataset as shown below where you need to sort it based on the date in Column A.

Below are the steps to sort multiple columns based on the date column:
- Select all the cells that you want to sort.
- In the Data menu ribbon, select the ‘Sort’ button (under the Sort and Filter group). This will open the Sort dialog box.
- In this dialog box, there are three dropdown lists.
- The first dropdown list lets you select the column by which you want to sort the data. Make sure the column containing your dates is selected.
- The second dropdown list lets you select what you want to sort on. Make sure the “Value” option is selected for this.
- The third dropdown list lets you select what in the order you want to sort your dates (Oldest to Newest or Newest to Oldest). You can even create your own custom sorting order. But let’s just leave that for another tutorial. Select the order in which you need your dates to get sorted
- Finally, click OK.
This should sort your dates in ascending or descending order depending on what you specified. It should also move cells of the other columns along with their corresponding dates.
Click here to download the example file and follow along
What to Do When Excel Doesn’t Sort the Dates Correctly
If the above method did not work and you find that your dates did not get sorted as expected, chances are that your dates were formatted as text instead of dates.
Let’s see what to do if that happens.
Check if your rows are in the Date Format
Below are the steps to check whether the dates you have are in fact in date format or not.
- Select the column containing the dates you want to sort.
- Right-click on the selected column and select Format Cells from the popup menu.
- Under the Number tab, check if the Date option is selected in the Category list. If not, then make sure you select it.
- Next, in the Type list (to the left of the dialog box), check if the format is the same format as the one you need. For example, in our case, we have the dates in dd/mm/yy format. If not, then change it to your required date format.
- Click OK
Now try sorting your data again using the Sort button (under the Data tab).
If you still don’t find your data getting sorted correctly, it probably means that Excel is still not recognizing your date cells as dates. To check if that’s the case, do the following:
In any blank cell, type ‘=ISTEXT(’ and select any one of the cells of your date column. Close the bracket ‘)’ and press the Return key. The ISTEXT function is used to find out if a particular cell has a text value or not.
If Excel sees the value as a text value, you will get a TRUE result. If it sees the value as a date, then you will get a FALSE result.
If you get a FALSE result, that means even though you have formatted the column’s cells as dates, Excel still sees them as text.
Another way is to see how your cell contents are aligned. If your dates are all aligned to the left, it means Excel sees your cells as text cells rather than dates. If it saw them as dates, it would have aligned the contents to the right of the cell.
To fix this problem, do the following.
Convert your Cells to Date Format Using Text to Columns
Below are the steps to use Text to Columns to convert text to date in Excel:
- Select the column containing the dates you want to sort.
- From the Data tab, click on Text to Columns (under the Data Tools group). This opens the Text to Columns Dialog box.
- In this dialog box, you’ll see an option that allows you to specify whether the data in your selected cells are delimited. If you’re not familiar with the term ‘delimited’, it is the character that specifies how the data in the cells are separated from each other, for example, parts of your date are separated by a ‘/’ symbol. This means the delimiter here is a ‘/’ character. Make sure the ‘Delimited’ option is selected.
- Click Next
- In the next part of the dialog box, make sure all the given checkboxes are unchecked. This is because in your case, the delimiter does not really matter.
- Click Next.
- This is the crucial bit. In this part of the dialog box, you can select the format of your date. Select the radio button for the Date option (under Column Data Format). Next to this option, you will see a dropdown list that lets you select what format your dates will be in. If your dates are in the format dd/mm/yy as shown in our example, you can select the DMY option. There are plenty of other options given there, you can select the one you prefer.
- Finally, click Finish.
- To check if your cells have been converted to dates or not, use the =ISTEXT() function once again. If this time you get a FALSE result, it means Excel now sees your cells as dates instead of texts.
That’s it, once your cells are force converted, you can sort them by navigating to Data->Sort.
Conclusion
The above tutorial should be enough to help you get through any issues you may have in sorting your data by date, whether you want to sort from oldest to newest data or vice-versa.
If you still face issues after trying everything, let us know in the comments, and we will try our best to walk you through to the solution.
Other Excel tutorials you may like:
- How to Add Days to a Date in Excel
- How to Unsort in Excel (Revert Back to Original Data)
- How to Delete Filtered Rows in Excel (with and without VBA)
- How to Convert Date to Month and Year in Excel
- How to Convert Serial Numbers to Date in Excel
- Why are Dates Shown as Hashtags in Excel?
- How to Flip Data in Excel (Columns, Rows, Tables)?
- How to Sort a Pivot Table in Excel
- How to Sort by Length in Excel? Easy Formula!
- How to Filter by Color in Excel?