If you have been working with Microsoft apps (such as Excel, PowerPoint, or Word), I am sure you have encountered files that are read-only.
What a read-only file means is that it’s only supposed to be read, and not be edited.
So if you make a file read-only (and the user opens it as a read-only file), they won’t be able to make any changes to the original file.
In this tutorial, I will cover how to make an Excel file read-only, all the options a user gets when opening a read-only file, and how to remove the read-only property from an Excel file.
Create Read Only Excel File
You’ve probably created a lot of Excel files that you need to share with other users, but don’t want it to be changed.
If you make a file read-only, other users will have access to it, but all changes will have to be saved in the new file. Therefore, the original file will be untouched.
This way you can be sure that your file will be the same despite sharing it with other colleagues (especially if that file is on a network drive where multiple people can change it).
Let’s now see how to save an Excel file and protect it as read-only. This option can be activated during the saving of the file.
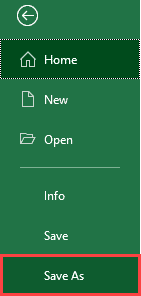
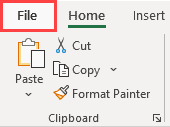
- In the ribbon, go to the File tab.

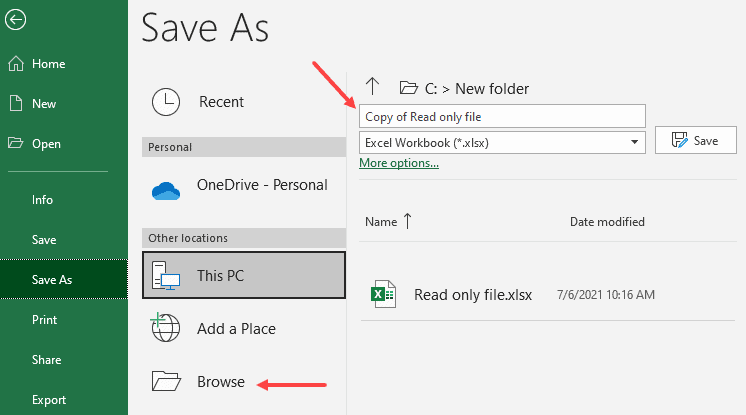
- In the menu on the left side, choose Save As.
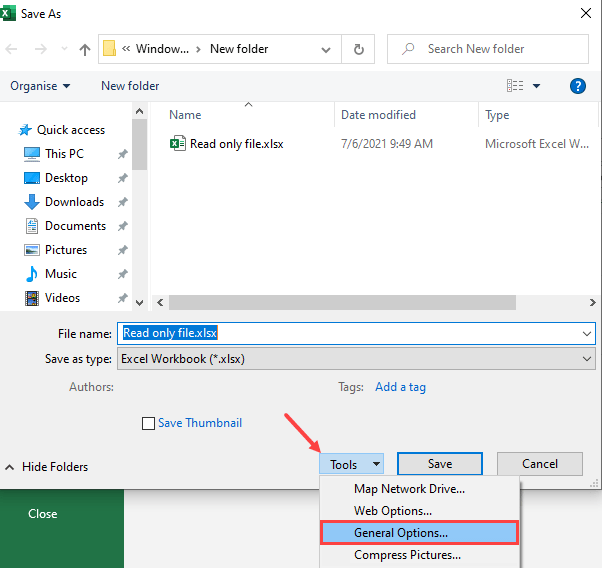
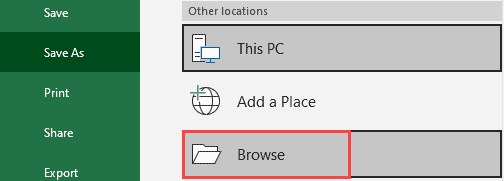
- Choose Browse.

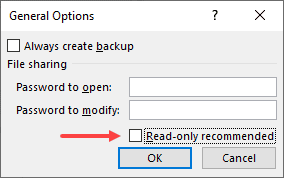
- In the Browse window, click on Tools and choose General Options.
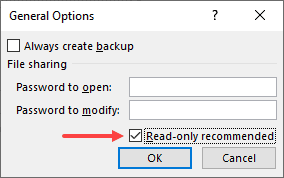
- In the General Options window, you need to check Read-only recommended and click OK.
- Now you’re back in the Browse window, and just click Save button to save the file and read-only settings.

Finally, you saved your file as a read-only Excel document.
Let’s now see what happens when you open the file and try to edit it.
One thing you need to remember is that when you make a file read-only, the user can still open the original file and make changes to it (they just need to decline the option to open the file as read-only). So if you’re doing this to make sure no one changes the original file, be informed that this is not a fool-proof way.
Also read: Unblock Macros in Excel Files Downloaded From the Web
What Happens when You Open a Read Only File?
If you try to open the previously saved read-only file, you will get the following prompt:

Excel notifies you that the file you’re opening is read-only and asks you if you want to open it as read-only or not.
Possible answers here are:
- Yes – if you select Yes, the file will be opened in the read-only mode, which means that you will have to save it as new file (with a different name) in order to save your changes
- No – if you choose No, the file will open as a regular Excel file (not in read-only mode), and you’ll be able to make changes to the original file and save it
- Cancel – if you choose to cancel, it will close the file
As you can conclude from the previous explanation, the read-only feature doesn’t actually protect your workbook.
This option just notifies a user that you don’t want the original file to be changed. However, if a user doesn’t choose to open as read-only, the file can be changed normally.
So, if you want to be sure that your file is secured and not changed, you need to password protect it. On the other side, the read-only option is just a notification for other users.
One scenario where making the file read-only helps is when you don’t want yourself or any other user to make any changes in the file inadvertently. So if you only want to read the file (and it has been saved as read-only), it’s better to open it as read-only. This way, even if you make some changes and hit the save button, it will save it as a separate file.
Changing a Read Only File
If you select yes when opening a file (which means that you opened the file as read-only), you will have to save it as a new file after making any changes.
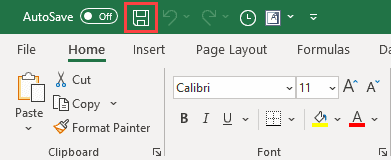
When you open a read-only file, you can see at the top of the file (next to the name) that the file is read-only.

- Once you’re done with the changes and want to save the file, click the save icon or press CTRL + S on the keyboard to save the file.
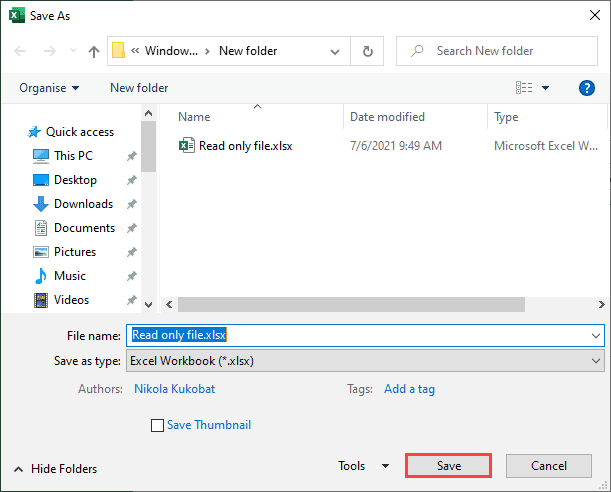
- The warning message pops up, with the information that you can’t change the read only file and have to save it as a new file with a different name or in a different location.

- When you press OK, the Save As window will appear. Here you have to give a new name to the file or go to Browse and select a new file location to save it.
As a result, the original file remains unchanged, while the changes you made are saved in a new file that you created.
Also read: Microsoft Excel is Waiting for Another Application to Complete an OLE Action – Fix!
Removing Read-Only Option from a File
If you don’t need your file to be read-only anymore, you can easily remove a read-only option from the file and make it editable again.
In order to do this, you have to follow similar steps to creating a read-only file.
- First, you need to open the file as editable, not read only. When you open the read only file, Excel will ask you if you want to open it as read only, and you have to click No.

- In the ribbon, go to the File tab.
- In the menu on the left side, choose Save As.

- Choose Browse.
- In the Browse window, click on Tools and choose General Options.

- In the General Options window, you need to uncheck Read-only recommended and click OK.
- Now you’re back in the Browse window, and just click the Save button to save the file.
Finally, you saved your file without the read-only feature. If you open it again, you will be able to change it and save, without any restrictions or warnings.
Also read: How to Edit Document Properties in Excel
Conclusion
As you saw in the article, making an Excel file read-only, can help you to prevent unwanted changes to your file.
However, this feature can’t stop a user from changing your file. It will only give a warning, that a file is read-only, and shouldn’t be changed.
You must keep in mind that a user can always choose to ignore a warning. Furthermore, the file doesn’t need to be opened as a read-only and in that case, it can be easily changed and saved.
So, if you need to protect your file from changes and want to be sure that it won’t be changed, you need to use password protection.
Every read-only file has the information next to the name on the top when it’s opened, that you’re working in a read-only file. When changing this kind of file, all changes have to be saved in a new file with a new name, or in a different location on a computer.
If you want to remove a read-only attribute from a file, you need to open it not as a read-only, but as an editable file. This way, you can use the same steps as for creating a read-only file to remove this feature. All of this, you need to do during the saving of a file.
I hope you found this tutorial useful!
Other Excel tutorials you may also like:
- How to Insert an Excel file into MS Word
- How to Open Excel File [xls, xlsx] Online (for FREE)
- How to Start Excel in Safe Mode
- How to Clear Cache in Excel?
- How to Find out What Version of Excel You Have (Easy Way)
- Why does Excel Open on Startup (and How to Stop it)
- How to Save Selection in Excel as PDF
- How to Open a Text File to Excel?
- How to Convert a CSV File to Excel?
- How to Merge Two Excel Files?
- Why is Excel so Slow? 11 Tips to Fix Slow Excel Files!
- How to Mark an Excel Workbook as Final?